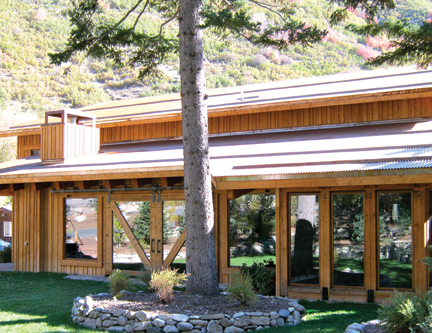
Typically composed of a layer of EPS, XPS, or polyurethane foam sandwiched between oriented strand board panels, structural insulated panels can provide R-values for walls, floors, and roofs ranging from 14 to 58, depending on the panel thickness and composition. SIPs also are manufactured to spec, which can result in reduced waste and potential labor savings.
First-time users may find working with SIPs somewhat worrisome, so we asked Frank Kiesecker, of SIP manufacturer ACH Foam Technologies, Denver, to provide some prescriptive advice that even experienced SIP users could benefit from.
1. Pre-plan electrical and equipment needs. Since SIPs are manufactured to meet the project’s specifications, it’s important to plan for electrical chases in advance to prevent time-consuming and sometimes costly modifications during installation. For example, SIP facings should never be cut horizontally for the installation of electrical wiring; doing so will compromise structural performance.
In addition, during the design phase, it’s important to determine whether there are any equipment needs for the installation of the panels. If the project specifies roof panels or wall or floor panels larger than 8x8 feet, a forklift or crane may be required for installation.
2. Organize the panels for installation. Proper storage, weather protection, and handling will make the installation process more efficient. Store the panels on a level space, no closer than three inches to the ground. Organize the panels by the sequence in which they will be installed (i.e., separate the first-floor panels from the second-floor ones), and make sure they’re covered with a breathable protective tarp to keep them dry.
3. Install the panels properly and seal them tight. SIPs need to be fully supported during installation. The panels slip over a wall plate, which needs to be set half an inch from the building edge to ensure that the panels are fully supported. Also, make sure to set the panels in place in the correct order: start in the corners or valleys and work outward. Once installed, all panel joints and voids must be properly sealed using adhesive or SIP tape to minimize air leakage and maintain the structure’s long-term durability.
4. Protect SIPs from water penetration. Once SIPs have been installed and sealed, weather protection such as housewrap is required to prevent moisture deterioration. Follow the housewrap manufacturer’s installation guidelines, and make sure to flash all penetrations. Over time, windows will leak some water at the sill. Use flashing under and around the units to direct water away from the wall structure.
5. Right-size your HVAC system. One common mistake, says Kiesecker, is underestimating the high insulating and air-sealing properties of SIPs when selecting an HVAC system. SIPs allow for smaller HVAC equipment. When working with an HVAC contractor, make sure they take into account an estimate for lower levels of air infiltration. Proper HVAC sizing is critical because an underused system will fail to reach a steady operating rate, resulting in short cycling, which is less energy efficient and requires more maintenance.
Other important factors to consider when determining HVAC sizing:
- Size of the structure (each floor should be analyzed individually)
- Orientation of building
- Type of wall construction, and associated R-value
- Window and door specs, including the number of windows and doors and their location, insulation value, and fenestration rating
- Duct location (i.e., in heated space, unheated space, attic, crawl space, etc.)
- Amount of air infiltration.
SIPs Do’s and Don’ts
|
Related Stories
| Oct 4, 2011
GREENBUILD 2011: Mythic Paint launches two new paint products
A high performance paint, and a combination paint and primer now available.
| Oct 4, 2011
GREENBUILD 2011: Wall protection line now eligible to contribute to LEED Pilot Credit 43
The Cradle-to-Cradle Certified Wall Protection Line offers an additional option for customers to achieve LEED project certification.
| Oct 3, 2011
Magellan Development Group opens Village Market in Chicago’s Lakeshore East neighborhood
Magellan Development Group and Hanwha Engineering & Construction are joint-venture development partners on the project. The Village Market was designed for Silver LEED certification by Loewenberg Architects and built by McHugh Construction.
| Oct 3, 2011
Balance bunker and Phase III projects breaks ground at Mitsubishi Plant in Georgia
The facility, a modification of similar facilities used by Mitsubishi Heavy Industries, Inc. (MHI) in Japan, was designed by a joint design team of engineers and architects from The Austin Company of Cleveland, Ohio, MPSA and MHI.
| Oct 3, 2011
Cauceglia to lead Allsteel’s global accounts
Cauceglia is responsible for developing new global business strategies and expanding existing business within the Fortune 500 sector.
| Sep 30, 2011
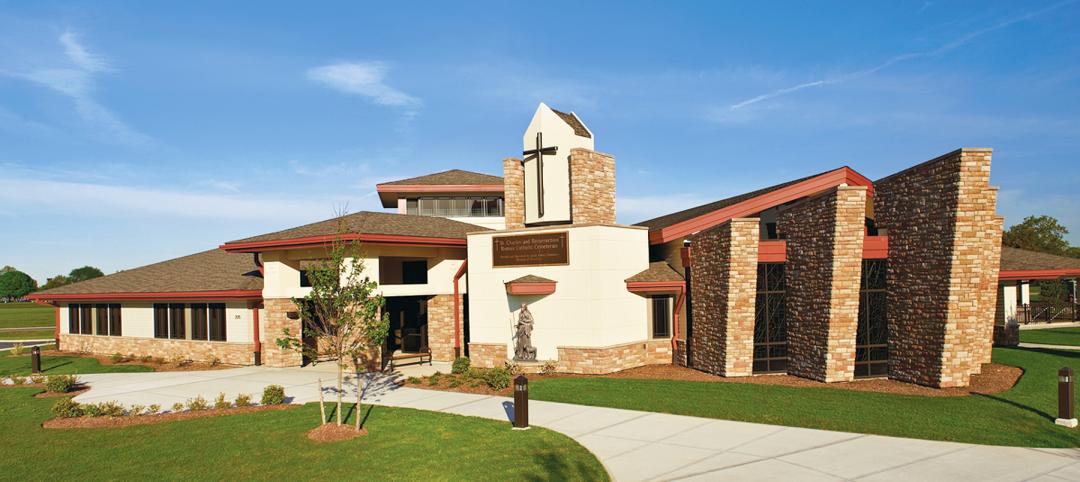
BBS Architects & Engineers completes welcoming center at St. Charles Resurrection Cemetery
The new structure serves as the cemetery's focal architectural point and center of operations.
| Sep 30, 2011
Kilbourn joins Perkins Eastman
Kilbourn joins with more than 28 years of design and planning experience for communities, buildings, and interiors in hospitality, retail/mixed-use, corporate office, and healthcare.
| Sep 30, 2011
Design your own floor program
Program allows users to choose from a variety of flooring and line accent colors to create unique floor designs to complement any athletic facility.
| Sep 30, 2011
AAMA offers electronic technical documents with launch of virtual library
This new program offers a system for members to purchase annual licenses in order to offer electronic versions of AAMA publications in an effort to make AAMA’s technical information resources more readily available to their employees.
| Sep 29, 2011
Submit your Great Solutions
Profiles of Great Solutions will appear in December 2011 issue of Building Design+Construction.


