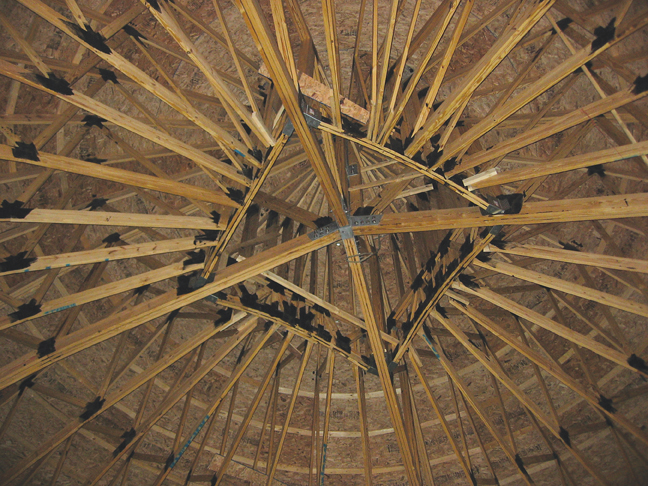
Wood truss construction surged in popularity in the 1960s and ’70s, but back then most buildings that used metal-plate-connected wood trusses had flat ceilings. With today’s CAD and BIM technology, however, manufacturers can create trusses for much more intricate and complicated architectural designs.
Archie Landreman, a technical director with WoodWorks, an initiative of the Wood Products Council, offers eight tips for working with metal-plate-connected wood trusses.
1. Sweat the details.
Creating a complete set of construction documents is the first no-brainer step for any wood truss project. “The more information the team has, the better job they’re going to do,” Landreman says. “You need a complete set of blueprints—architectural, structural, mechanical.”
Detailed sections, including design loads, spacing, building codes, and special shapes, are crucial for a manufacturer to properly design trusses for your project. Providing these details up front will save time and money, and the approval process will go more smoothly.
Landreman’s advice: Make sure the truss heel height isn’t overlooked during the blueprint stage. “A lot of times, plans are drawn in such a way that that particular section of the building is generic—it doesn’t necessarily show details to scale,” he says. To accurately calculate heel height, the manufacturer needs detailed information—including a drawing of a typical wall section—on wall height, height at the bottom of the header, length of the overhang, and dimensions for the soffit and fascia materials.
2. Specifications are as important as blueprints.
To design trusses properly, you must supply the manufacturer with a specification book. Such documentation may include specific carpentry information on trusses that does not appear on the project blueprints. Without a spec book, the truss manufacturer could do a complete set of truss layouts and profiles for approval, Landreman says, only to have the architect or structural engineer come back with a whole new set of drawings and specifications. “It could add a lot of time and expense for the manufacturer to have to redo something that was done without complete information,” Landreman says.
Landreman’s advice: Provide the truss manufacturer with the spec book at the time of the bid. “In some cases, it can provide a lot more detail than the blueprint itself.”
3. Get close to your manufacturer.
Before beginning a truss project, do your research on several truss manufacturers. Don’t be afraid to ask tough questions; for example, “Have you done big commercial jobs with spans in excess of 60 feet before?”
Ask truss manufacturers for their annual business volume, which can be an indicator of experience. “If someone’s manufacturing $10 million worth of trusses a year, you would think that they should have more experience and probably be able to do a better job than a manufacturer that’s doing $500,000 a year,” he says. Business volume may not always be a perfect indicator, but it’s a factor you should take into consideration.
Landreman’s advice: Ask manufacturers for references on projects similar to yours to get a sense of their experience in that area. “Not everybody has done the kind of job you’re working on,” he says.
4. Keep in touch with your manufacturer as the job progresses.
Developing a solid relationship with your truss manufacturer is important, since a good manufacturer can assist your Building Team during the early stages of the design process. If, for example, you’re designing a building with a 26-foot span for a floor truss, get the specifications details to the manufacturer, request a preliminary drawing, and work with the manufacturer’s drawing to develop a better sense of what the truss would look like and whether the manufacturer’s concept can become a reality.
Landreman’s advice: Work with the truss manufacturer to get details on span and truss height before starting any drawings to make sure the basic design concept will work before it is put on paper.
5. Make your manufacturer part of your Building Team.
When your manufacturer completes shop drawings for the placement diagrams of the trusses, getting input from all parties involved in the project should provide added perspective before final approval of these documents.
Landreman’s advice: Share manufacturer drawings with all the members of your Building Team, so that “you’re getting viewpoints from different angles.”
6. Schedule the wood truss work carefully.
The approval process can take time. To keep on schedule, leave ample time for placing the order, completing the layout and profile designs, and approving the drawings. According to Landreman, this process usually takes about two weeks, but it can vary depending on the manufacturer, the time of year, and the size and complexity of the project.
Landreman’s advice: Ask the manufacturer how long to expect the drawings to take once the purchase order or contract is placed.
7. Follow the manufacturer’s directions carefully.
The truss manufacturer should provide detailed guidelines on truss storage and installation during the approval process and upon delivery to the job site. The guidelines should include instructions on storage, lifting installation, bracing, cutting, and notching. Follow the manufacturer’s guidelines to the letter, since problems can occur if trusses are mishandled.
The chief problem is damage during delivery to the job site, as trusses are being rolled off the truck and dropped to the ground. “If they put them on a really rough part of the job site, some of the trusses could be broken or there could be damage to the connector plates when they hit the ground,” Landreman says.
Some trusses cannot be repaired once they’re put in place, so damage that goes unnoticed until after the trusses and roof sheeting are installed could result in extra time and expense to remove the sheeting and put in a new truss.
To avoid any confusion during installation, the manufacturer’s instructions should include the latest set of truss drawings showing the proper placement of all of the trusses. “Many times through the approval process some of the details in the drawings may change,” Landreman says. “If the contractor in the field doesn’t have the last revised set of truss drawings, some of those numbers and placements might have changed, and the truss could wind up in the wrong location.”
Landreman’s advice: If any instructions, warnings, or recommendations are missing, call the manufacturer immediately. “They are more than willing to get that information to you or send someone out to the site to help make sure everything’s going the way it’s supposed to.”
8. Treat floor trusses with special care.
Floor trusses can be trickier than roof trusses. “With roof trusses, there’s a tremendous amount of design flexibility, and usually you’re dealing with slope trusses,” Landreman says. With floor trusses, however, “the height of the floor truss can affect the design of the whole building, especially when you’re looking to accommodate mechanicals in those floor trusses,” he says.
For example, say you’re designing a three-story building using 24-foot floor trusses, and you expect the truss to be 12 inches deep. During the bidding process, however, the manufacturer determines that each truss needs to be 16 inches deep. “That would add a whole foot to the building height, and it’s probably not going to work,” says Landreman.
Landreman’s advice: Consult your manufacturer on truss depth and spacing when considering floor trusses for any large-scale project, rather than relying on a preprinted span table.
Related Stories
| Feb 11, 2011
RS Means Cost Comparison Chart: Office Buildings
This month's RS Means Cost Comparison Chart focuses on office building construction.
| Feb 11, 2011
Sustainable features on the bill for dual-building performing arts center at Soka University of America
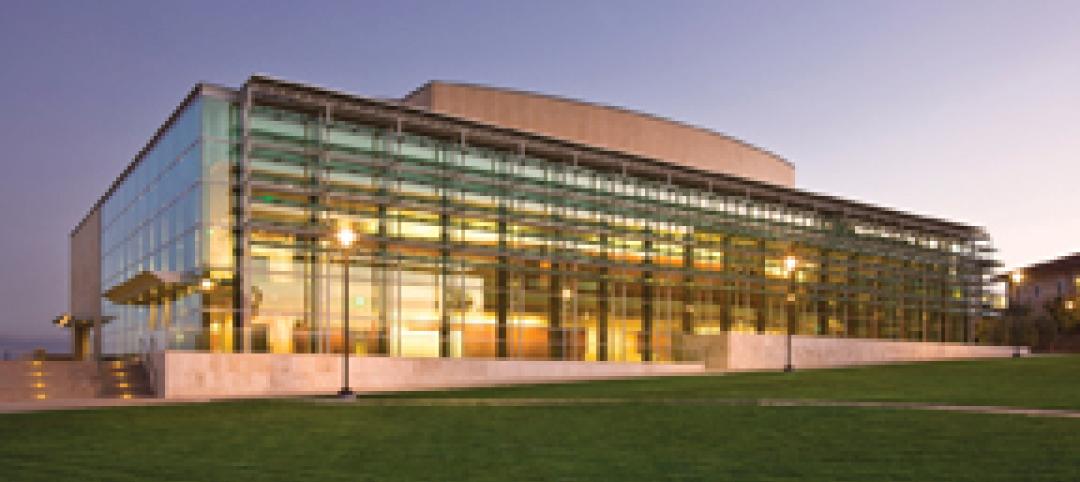
The $73 million Soka University of America’s new performing arts center and academic complex recently opened on the school’s Aliso Viejo, Calif., campus. McCarthy Building Companies and Zimmer Gunsul Frasca Architects collaborated on the two-building project. One is a three-story, 47,836-sf facility with a grand reception lobby, a 1,200-seat auditorium, and supports spaces. The other is a four-story, 48,974-sf facility with 11 classrooms, 29 faculty offices, a 150-seat black box theater, rehearsal/dance studio, and support spaces. The project, which has a green roof, solar panels, operable windows, and sun-shading devices, is going for LEED Silver.
| Feb 11, 2011
BIM-enabled Texas church complex can broadcast services in high-def
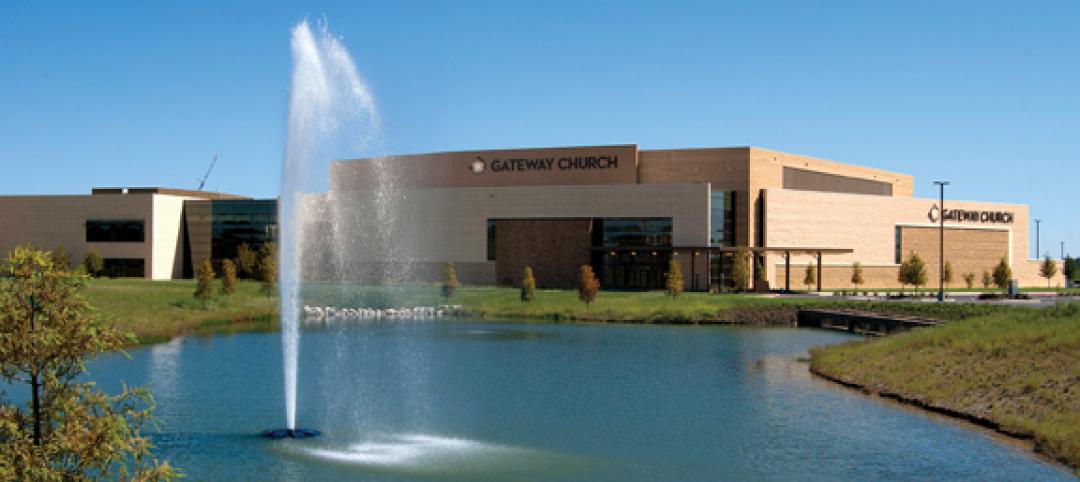
After two years of design and construction, members of the Gateway Church in Southland, Texas, were able to attend services in their new 4,000-seat facility in late 2010. Located on a 180-acre site, the 205,000-sf complex has six auditoriums, including a massive 200,000-sf Worship Center, complete with catwalks, top-end audio and video system, and high-definition broadcast capabilities. BIM played a significant role in the building’s design and construction. Balfour Beatty Construction and Beck Architecture formed the nucleus of the Building Team.
| Feb 11, 2011
Kentucky’s first green adaptive reuse project earns Platinum
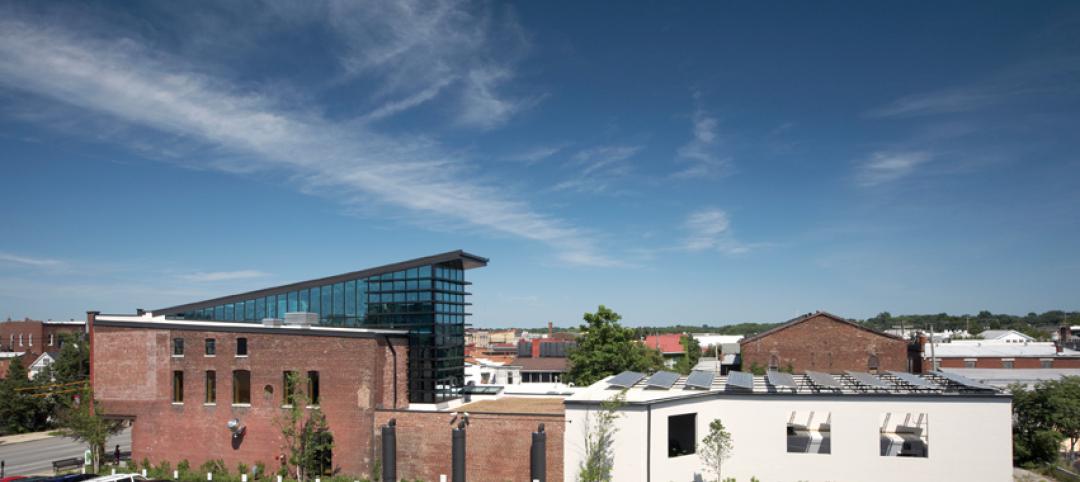
(FER) studio, Inglewood, Calif., converted a 115-year-old former dry goods store in Louisville, Ky., into a 10,175-sf mixed-use commercial building earned LEED Platinum and holds the distinction of being the state’s first adaptive reuse project to earn any LEED rating. The facility, located in the East Market District, houses a gallery, event space, offices, conference space, and a restaurant. Sustainable elements that helped the building reach its top LEED rating include xeriscaping, a green roof, rainwater collection and reuse, 12 geothermal wells, 81 solar panels, a 1,100-gallon ice storage system (off-grid energy efficiency is 68%) and the reuse and recycling of construction materials. Local firm Peters Construction served as GC.
| Feb 11, 2011
Former Richardson Romanesque hotel now houses books, not beds
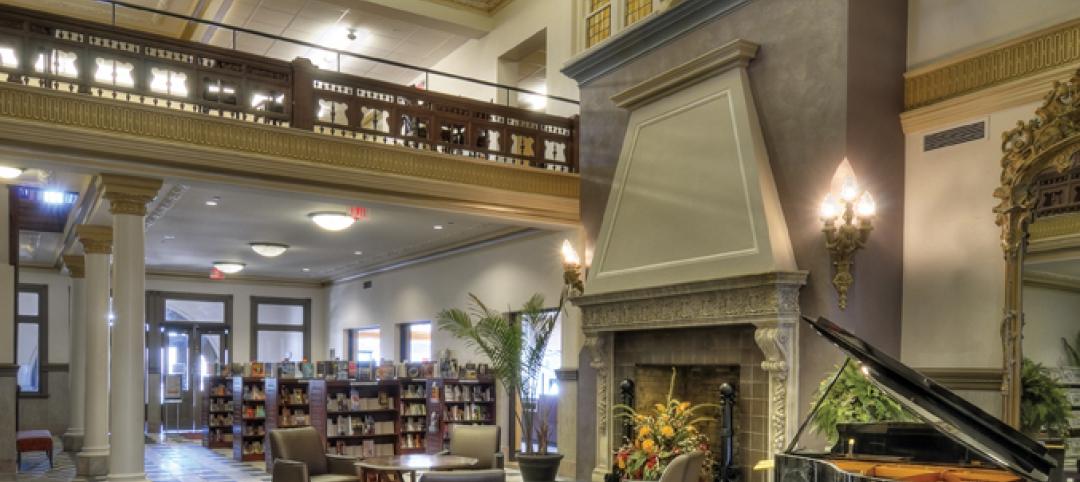
The Piqua (Ohio) Public Library was once a late 19th-century hotel that sat vacant and deteriorating for years before a $12.3 million adaptive reuse project revitalized the 1891 building. The design team of PSA-Dewberry, MKC Associates, and historic preservation specialist Jeff Wray Associates collaborated on the restoration of the 80,000-sf Richardson Romanesque building, once known as the Fort Piqua Hotel. The team restored a mezzanine above the lobby and repaired historic windows, skylight, massive fireplace, and other historic details. The basement, with its low ceiling and stacked stone walls, was turned into a castle-like children’s center. The Piqua Historical Museum is also located within the building.
| Feb 11, 2011
Justice center on Fall River harbor serves up daylight, sustainable elements, including eucalyptus millwork
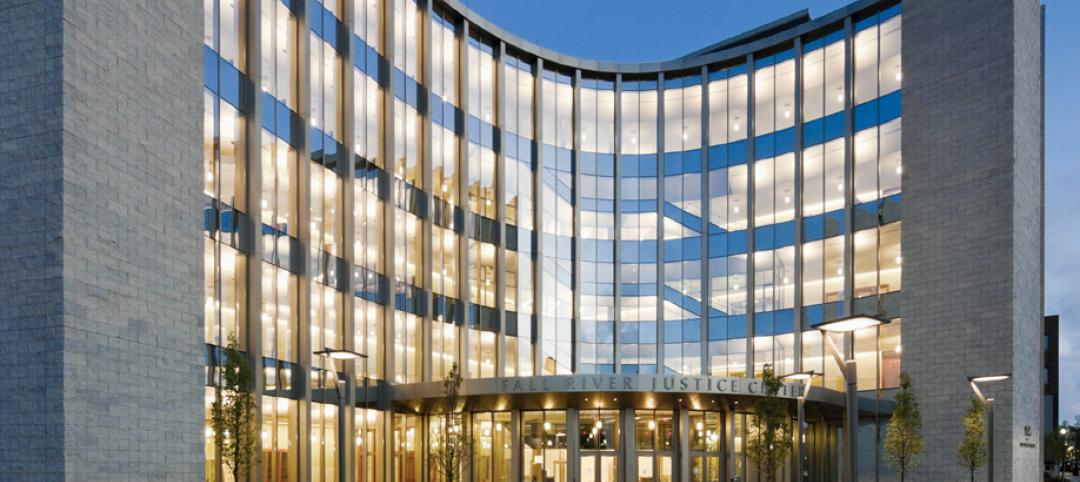
Located on historic South Main Street in Fall River, Mass., the Fall River Justice Center opened last fall to serve as the city’s Superior and District Courts building. The $85 million facility was designed by Boston-based Finegold Alexander + Associates Inc., with Dimeo Construction as CM and Arup as MEP. The 154,000-sf courthouse contains nine courtrooms, a law library, and a detention area. Most of the floors have the same ceiling height, which will makes them easier to reconfigure in the future as space needs change. Designed to achieve LEED Silver, the facility’s elliptical design offers abundant natural daylight and views of the harbor. Renewable eucalyptus millwork is one of the sustainable features.
| Feb 11, 2011
Research facility separates but also connects lab spaces
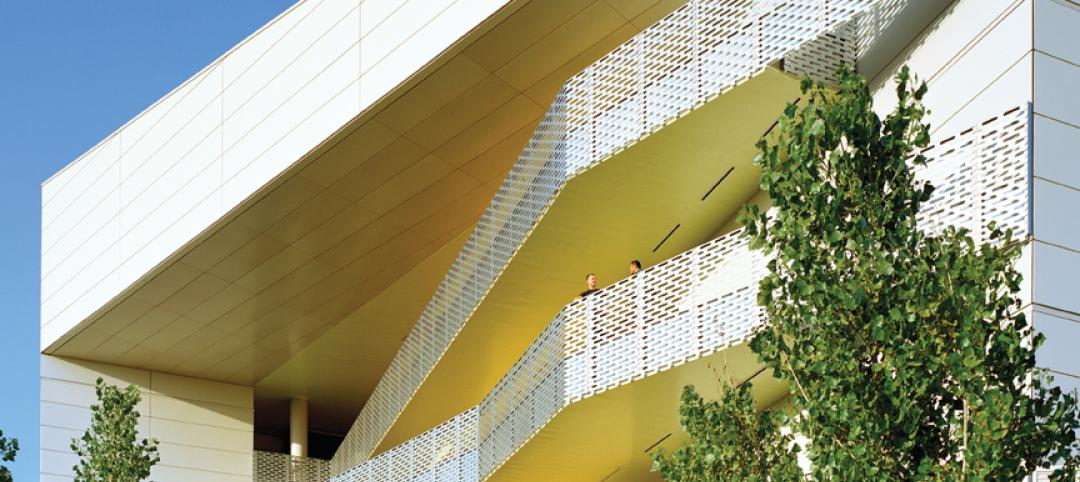
California State University, Northridge, consolidated its graduate and undergraduate biology and mathematics programs into one 90,000-sf research facility. Architect of record Cannon Design worked on the new Chaparral Hall, creating a four-story facility with two distinct spaces that separate research and teaching areas; these are linked by faculty offices to create collaborative spaces. The building houses wet research, teaching, and computational research labs, a 5,000-sf vivarium, classrooms, and administrative offices. A four-story outdoor lobby and plaza and an outdoor staircase provide orientation. A covered walkway links the new facility with the existing science complex. Saiful/Bouquet served as structural engineer, Bard, Rao + Athanas Consulting Engineers served as MEP, and Research Facilities Design was laboratory consultant.
| Feb 11, 2011
A feast of dining options at University of Colorado community center, but hold the buffalo stew
The University of Colorado, Boulder, cooked up something different with its new $84.4 million Center for Community building, whose 900-seat foodservice area consists of 12 micro-restaurants, each with its own food options and décor. Centerbrook Architects of Connecticut collaborated with Denver’s Davis Partnership Architects and foodservice designer Baker Group of Grand Rapids, Mich., on the 323,000-sf facility, which also includes space for a career center, international education, and counseling and psychological services. Exterior walls of rough-hewn, variegated sandstone and a terra cotta roof help the new facility blend with existing campus buildings. Target: LEED Gold.
| Feb 11, 2011
Chicago high-rise mixes condos with classrooms for Art Institute students
The Legacy at Millennium Park is a 72-story, mixed-use complex that rises high above Chicago’s Michigan Avenue. The glass tower, designed by Solomon Cordwell Buenz, is mostly residential, but also includes 41,000 sf of classroom space for the School of the Art Institute of Chicago and another 7,400 sf of retail space. The building’s 355 one-, two-, three-, and four-bedroom condominiums range from 875 sf to 9,300 sf, and there are seven levels of parking. Sky patios on the 15th, 42nd, and 60th floors give owners outdoor access and views of Lake Michigan.
| Feb 11, 2011
Iowa surgery center addresses both inpatient and outpatient care
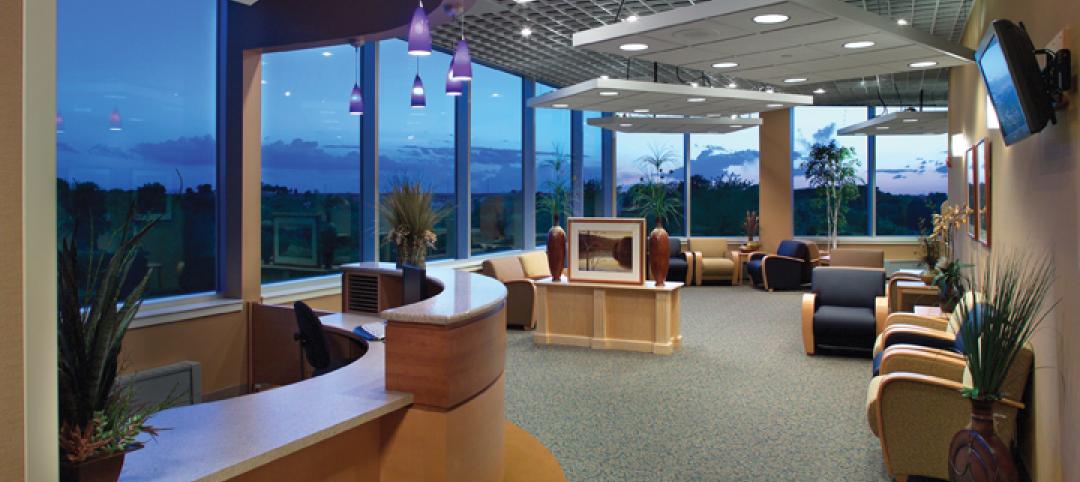
The 12,000-person community of Carroll, Iowa, has a new $28 million surgery center to provide both inpatient and outpatient care. Minneapolis-based healthcare design firm Horty Elving headed up the four-story, 120,000-sf project for St. Anthony’s Regional Hospital. The center’s layout is based on a circular process flow, and includes four 800-sf operating rooms with poured rubber floors to reduce leg fatigue for surgeons and support staff, two substerile rooms between each pair of operating rooms, and two endoscopy rooms adjacent to the outpatient prep and recovery rooms. Recovery rooms are clustered in groups of four. The large family lounge (left) has expansive windows with views of the countryside, and television monitors that display coded information on patient status so loved ones can follow a patient’s progress.


