Typically composed of a layer of EPS, XPS, or polyurethane foam sandwiched between oriented strand board panels, structural insulated panels can provide R-values for walls, floors, and roofs ranging from 14 to 58, depending on the panel thickness and composition. SIPs also are manufactured to spec, which can result in reduced waste and potential labor savings.
First-time users may find working with SIPs somewhat worrisome, so we asked Frank Kiesecker, of SIP manufacturer ACH Foam Technologies, Denver, to provide some prescriptive advice that even experienced SIP users could benefit from.
1. Pre-plan electrical and equipment needs. Since SIPs are manufactured to meet the project’s specifications, it’s important to plan for electrical chases in advance to prevent time-consuming and sometimes costly modifications during installation. For example, SIP facings should never be cut horizontally for the installation of electrical wiring; doing so will compromise structural performance.
In addition, during the design phase, it’s important to determine whether there are any equipment needs for the installation of the panels. If the project specifies roof panels or wall or floor panels larger than 8x8 feet, a forklift or crane may be required for installation.
2. Organize the panels for installation. Proper storage, weather protection, and handling will make the installation process more efficient. Store the panels on a level space, no closer than three inches to the ground. Organize the panels by the sequence in which they will be installed (i.e., separate the first-floor panels from the second-floor ones), and make sure they’re covered with a breathable protective tarp to keep them dry.
3. Install the panels properly and seal them tight. SIPs need to be fully supported during installation. The panels slip over a wall plate, which needs to be set half an inch from the building edge to ensure that the panels are fully supported. Also, make sure to set the panels in place in the correct order: start in the corners or valleys and work outward. Once installed, all panel joints and voids must be properly sealed using adhesive or SIP tape to minimize air leakage and maintain the structure’s long-term durability.
4. Protect SIPs from water penetration. Once SIPs have been installed and sealed, weather protection such as housewrap is required to prevent moisture deterioration. Follow the housewrap manufacturer’s installation guidelines, and make sure to flash all penetrations. Over time, windows will leak some water at the sill. Use flashing under and around the units to direct water away from the wall structure.
5. Right-size your HVAC system. One common mistake, says Kiesecker, is underestimating the high insulating and air-sealing properties of SIPs when selecting an HVAC system. SIPs allow for smaller HVAC equipment. When working with an HVAC contractor, make sure they take into account an estimate for lower levels of air infiltration. Proper HVAC sizing is critical because an underused system will fail to reach a steady operating rate, resulting in short cycling, which is less energy efficient and requires more maintenance.
Other important factors to consider when determining HVAC sizing:
- Size of the structure (each floor should be analyzed individually)
- Orientation of building
- Type of wall construction, and associated R-value
- Window and door specs, including the number of windows and doors and their location, insulation value, and fenestration rating
- Duct location (i.e., in heated space, unheated space, attic, crawl space, etc.)
- Amount of air infiltration.
SIPs Do’s and Don’ts
|
Related Stories
| Dec 17, 2010
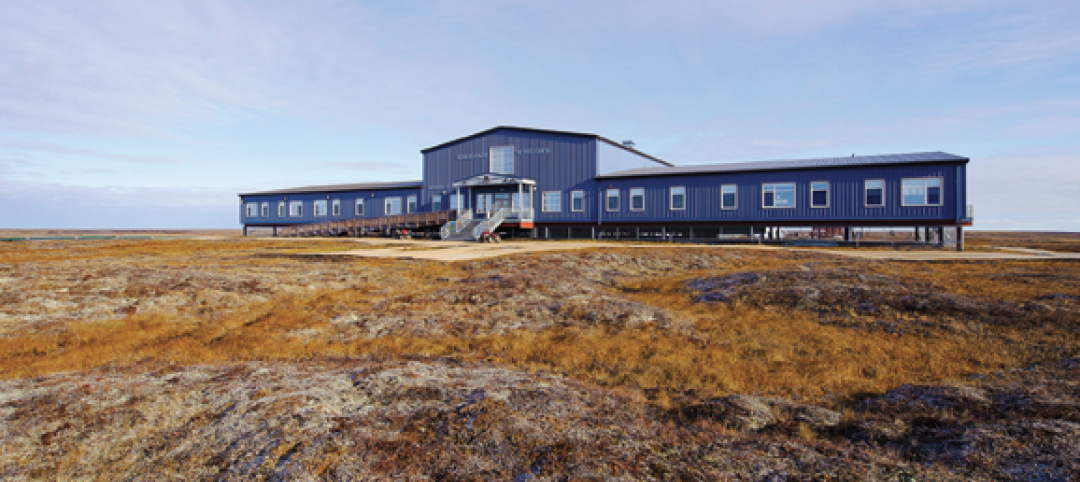
Alaskan village school gets a new home
Ayagina’ar Elitnaurvik, a new K-12 school serving the Lower Kuskikwim School District, is now open in Kongiganak, a remote Alaskan village of less than 400 residents. The 34,000-sf, 12-classroom facility replaces one that was threatened by river erosion.
| Dec 17, 2010
Luxury condos built for privacy
A new luxury condominium tower in Los Angeles, The Carlyle has 24 floors with 78 units. Each of the four units on each floor has a private elevator foyer. The top three floors house six 5,000-sf penthouses that offer residents both indoor and outdoor living space. KMD Architects designed the 310,000-sf structure, and Elad Properties was project developer.
| Dec 17, 2010
Subway entrance designed to exude Hollywood charm
The Hollywood/Vine Metro portal and public plaza in Los Angeles provides an entrance to the Red Line subway and the W Hollywood Hotel. Local architect Rios Clementi Hale Studio designed the portal and plaza to flow with the landmark theaters and plazas that surround it.
| Dec 17, 2010
New engineering building goes for net-zero energy
A new $90 million, 250,000-sf classroom and laboratory facility with a 450-seat auditorium for the College of Electrical and Computer Engineering at the University of Illinois at Urbana/Champaign is aiming for LEED Platinum.
| Dec 17, 2010
Vietnam business center will combine office and residential space
The 300,000-sm VietinBank Business Center in Hanoi, Vietnam, designed by Foster + Partners, will have two commercial towers: the first, a 68-story, 362-meter office tower for the international headquarters of VietinBank; the second, a five-star hotel, spa, and serviced apartments. A seven-story podium with conference facilities, retail space, restaurants, and rooftop garden will connect the two towers. Eco-friendly features include using recycled heat from the center’s power plant to provide hot water, and installing water features and plants to improve indoor air quality. Turner Construction Co. is the general contractor.
| Dec 17, 2010
Toronto church converted for condos and shopping
Reserve Properties is transforming a 20th-century church into Bellefair Kew Beach Residences, a residential/retail complex in The Beach neighborhood of Toronto. Local architecture firm RAWdesign adapted the late Gothic-style church into a five-story condominium with 23 one- and two-bedroom units, including two-story penthouse suites. Six three-story townhouses also will be incorporated. The project will afford residents views of nearby Kew Gardens and Lake Ontario. One façade of the church was updated for retail shops.
| Dec 17, 2010
ARRA-funded Navy hospital aims for LEED Gold
The team of Clark/McCarthy, HKS Architects, and Wingler & Sharp are collaborating on the design of a new naval hospital at Camp Pendleton in Southern California. The $451 million project is the largest so far awarded by the U.S. Navy under the American Recovery and Reinvestment Act. The 500,000-sf, 67-bed hospital, to be located on a 70-acre site, will include facilities for emergency and primary care, specialty care clinics, surgery, and intensive care. The Building Team is targeting LEED Gold.
| Dec 17, 2010
Arizona outpatient cancer center to light a ‘lantern of hope’
Construction of the Banner MD Anderson Cancer Center in Gilbert, Ariz., is under way. Located on the Banner Gateway Medical Center campus near Phoenix, the three-story, 131,000-sf outpatient facility will house radiation oncology, outpatient imaging, multi-specialty clinics, infusion therapy, and various support services. Cannon Design incorporated a signature architectural feature called the “lantern of hope” for the $90 million facility.
| Dec 17, 2010
Cladding Do’s and Don’ts
A veteran structural engineer offers expert advice on how to avoid problems with stone cladding and glass/aluminum cladding systems.
| Dec 17, 2010
How to Win More University Projects
University architects representing four prominent institutions of higher learning tell how your firm can get the inside track on major projects.


