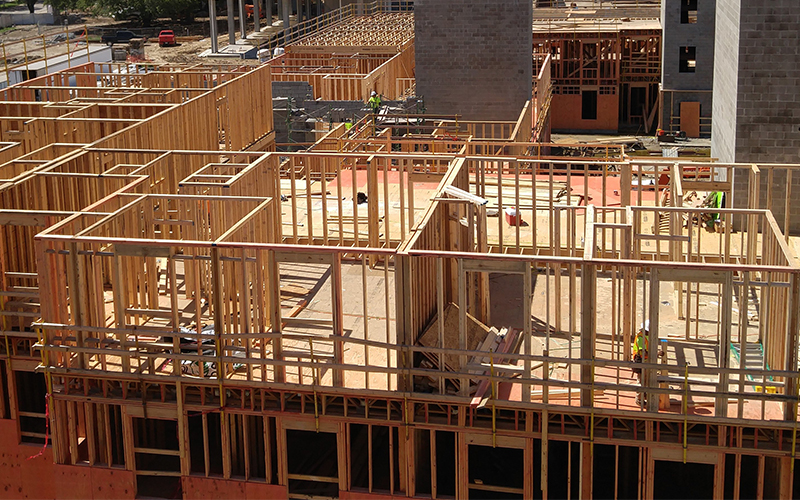
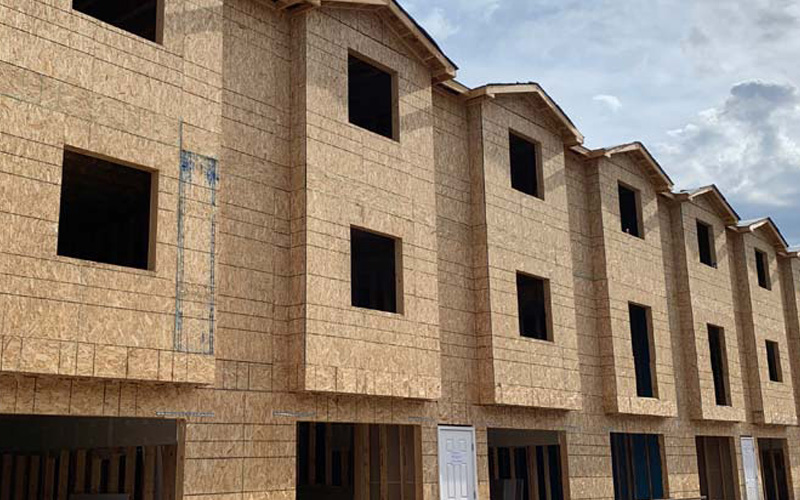
A well-built frame is critical to the quality and longevity of a structure. While the responsibility for building design rests with the architect and the engineer of record, the framer has a large responsibility too: to make sure that what is built matches the plans.
Here are some guidelines to follow to frame large buildings correctly and avoid common pitfalls.
Does the frame match the prints?
Using the right materials and fastening schedules is critical. Watch for small errors in materials. Use the same grade and performance category of panels that is called out in the plans. Generally, OSB and plywood are interchangeable for structural applications, but in some cases plywood is necessary. Notice, too, if special grades like Structural I are specified; STRUC I has a greater shear capacity that can be necessary in shear wall applications of large wood buildings.
Framing details and fastening schedules often change from floor to floor, so double-check that the installed materials match the plans as the levels go up.
Check Load Paths
A continuous load path is essential to structural integrity. Missing connections and misaligned framing are a recipe for problems. The frame of a structure does its job—carrying the load of gravity, resisting wind or seismic forces—only when framing materials are correctly aligned and securely connected.
Anchor bolts and hold-downs are not interchangeable. Hold-downs prevent overturning of the entire wall assembly, while anchor bolts prevent sliding between the bottom plate of the wall and the concrete foundation. Framers should always follow the engineer’s recommendations for hold-downs. For anchor bolts, add large plate washers below the nut. A nut without a washer has little capacity, and large plate washers help reinforce the anchor bolt connection to prevent the sill plate from splitting and/or failing.
Again, check the prints. Loads increase from the top down, and the framing, sheathing and fastening may change to resist the load.

Follow Fastening Guidelines
Fasteners have a large impact on the capacity of the system as a whole. Again, this can change from floor to floor or for situations such as shear wall detailing, so pay attention to the plans. In general, the minimum recommended schedule is to use 8d common nails at 6 inches on center at panel edges and at 12 inches on center in the field. However, sometimes a tighter spacing is specified. In these cases, stagger the nailing to prevent splitting.
Check for overdriving during construction and make corrective adjustments to the pneumatic nailer right away if overdriving is accidentally occurring. In some cases, consistent overdriving can reduce performance enough to require corrective action. For more information, download APA – The Engineered Wood Association’s free publication Effect of Overdriven Fasteners on Shear Capacity.
Understand the Materials
For floor and roof sheathing, orient panels correctly. Plywood and OSB panels have a strength axis that typically runs parallel to the long end, but not always, so check the directional arrow on the panel to be sure. When building floors and roofs, it is important to install the panel with the strength axis perpendicular to supports, and continuously across three or more supports.
Engineered wood products are very strong when treated and installed correctly. But sometimes inexperienced builders compromise the structural integrity of these products with excessive or badly placed cutting, notching or hole-punching. To avoid this, only alter I-joists, LVL and glulam according to manufacturer’s guidelines, and never drill, cut or notch the flange of an I-joist. Find details and best practices for field alterations of these products in the following APA publications:
- Field Notching and Drilling of LVL
- Field Notching and Drilling of Glulam
- APA Performance-Rated I-Joists
Space Panels Properly
Plywood and OSB sheathing usually arrive on the jobsite in a very dry condition, and then the panels expand as the wood fiber takes up ambient moisture. When possible, acclimate panels before installation, allowing panels to respond to jobsite moisture conditions. To account for expansion, always space plywood and OSB sheathing panels 1/8 of an inch, including at the ends of framing (typically the short dimension of the panels), when fastening.
When buildings have continuous plywood or OSB floor or roof decks exceeding 80 feet in length or width, it is often necessary to include expansion joints, especially if excessive moisture conditions arise. Find more details in APA’s Temporary Expansion Joints for Large Buildings publication.
Control Moisture
Excessive moisture can impact wood products if care isn’t taken to keep materials reasonably dry. Do not let moisture accumulate and do not allow puddles to stand on wood panels for long periods of time. Make sure that wood products are not in direct contact with concrete; concrete is porous, like a sponge, and capillary action will pull water into wood that’s in contact with it. Controlling moisture, including adequate ventilation of enclosed spaces, can also prevent issues related to fungal growth.
Builder Tips for Training
Inexperienced framers often need help understanding the basics of building with engineered wood. APA's collection of builder tips illustrate several basics of framing, such as spacing wood structural panels 1/8 of an inch, with visuals and clear, brief explanations. These can be useful during site visits, and some tips are also available in Spanish. See APA's mobile-friendly Builder Tips collection.

Want to Learn More?
Interested in more on framing big buildings? On-site training may be available in your area. Contact APA’s Field Services for more information.
Watch APA’s updated Frame It Right! Back to Basics for Big Buildings webinar. Available in English and Spanish, this on-demand webinar examines the consequences of critical framing mistakes from the ground up and provides practical solutions for avoiding typical issues. AIA and ICC credit available to participants.


